How to convert iPhone HEIC photos to JPG without uploading them
2026-11-06
Why HEIC photos fail to open, how to choose between JPG and PNG, how to convert in your browser, and how to remove location data.
Why HEIC photos do not open everywhere
Since iOS 11, iPhones save photos as HEIC (High Efficiency Image Container) by default. At the same visual quality the files are smaller than JPG, which saves storage. The trade-off is compatibility.
Windows needs an extension to open HEIC files, which you can install from Microsoft. Many websites block HEIC uploads, and older programs or some print services cannot read the format at all. If an upload failed with a message such as "unsupported file type", HEIC is the usual cause.
JPG or PNG?
JPG is the right choice for most people. The files are small, and nearly every device and website can open them. If you are sending photos to someone else or posting them to a blog or shop, JPG is the safest option.
PNG keeps every pixel exactly, but the same photo is usually much larger. Choose PNG only when you need a transparent background or plan to keep editing the image. If you are not sure, save a high-quality JPG first.
Converting in your browser, step by step
1. Open the HEIC converter on zerotool.
2. Add one or more HEIC files. They are read on your own device.
3. Choose JPG or PNG as the output format.
4. Check a few results before you convert everything. Make sure the orientation is right and the colours look natural.
5. With two or more files you can download a single ZIP, or save each file separately.
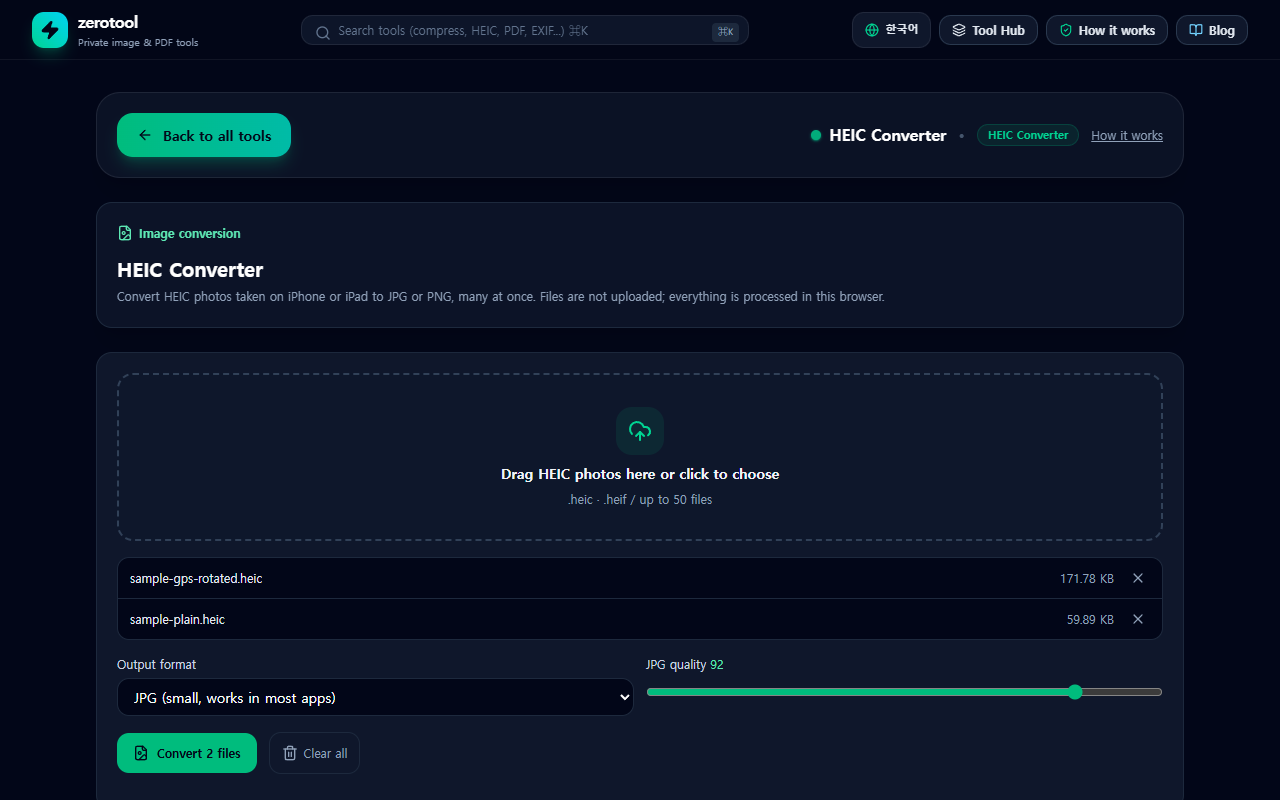
Nothing you add is sent to a server. Conversion uses the processing power of your own computer or phone, so a very large batch on an older device can take a little longer. In that case, split the batch into smaller groups.
Check the location data before you share
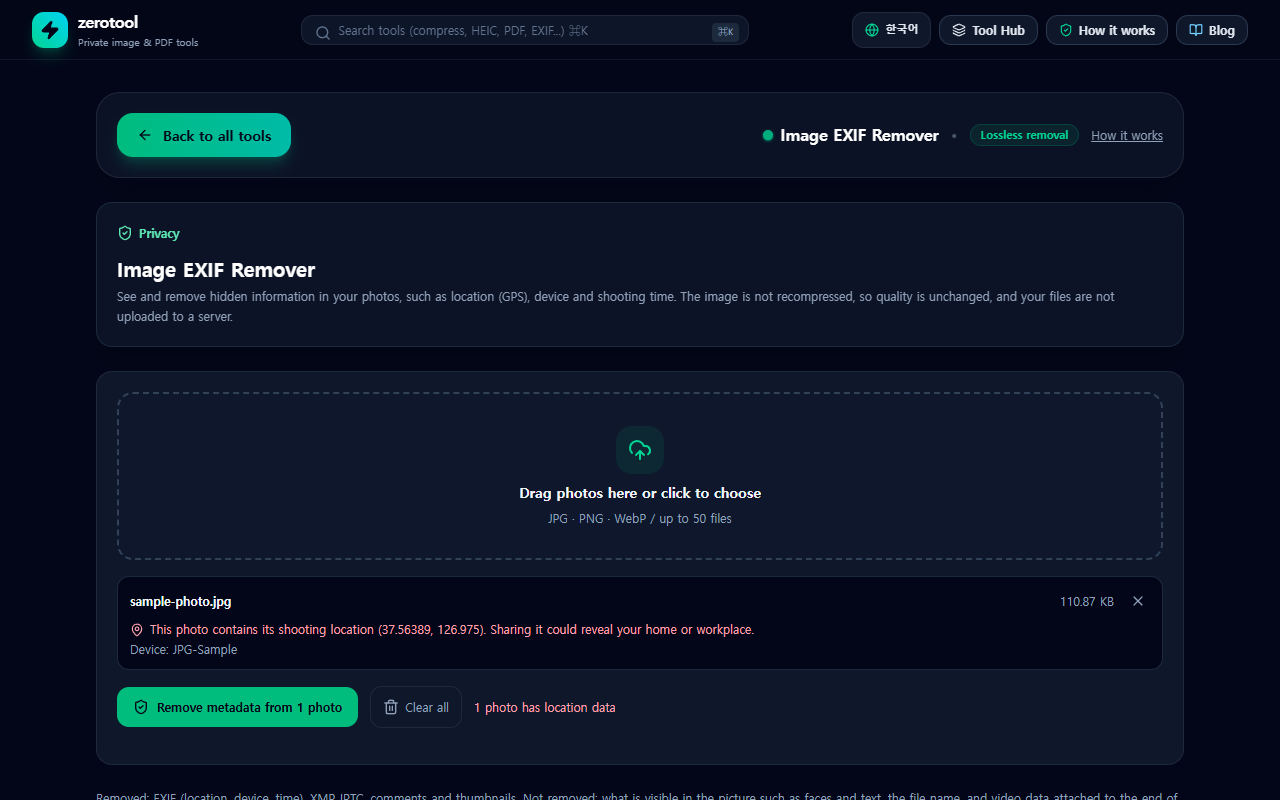
A phone photo often stores the GPS coordinates of where it was taken, along with the date, the time and the device model. This information is called EXIF data.
The converted JPG does not carry these details. The original HEIC or JPG you keep on your phone, however, may still contain them, and sharing that file can reveal where you were. Check it with the EXIF remover before you publish it.
- Add the photo to the EXIF remover to see a list of the hidden fields it contains.
- Decide which items to remove, such as GPS coordinates, device model or timestamp.
- Download the cleaned copy to share. You can keep the original for yourself.
A quick checklist
- If the recipient might use Windows, send a JPG.
- If the original quality and metadata matter to you, keep the HEIC original.
- Before posting to a public website or shop, remove location data.
- If a form has a size limit, check the file size after conversion and resize with the image resizer if needed.