Make an Animated GIF from Photos, Keep the File Small
2026-11-07
How to turn photos into a GIF, how to set the time per photo and the width, what the 256-color limit does to quality, and how to reduce the file size.
How to make one
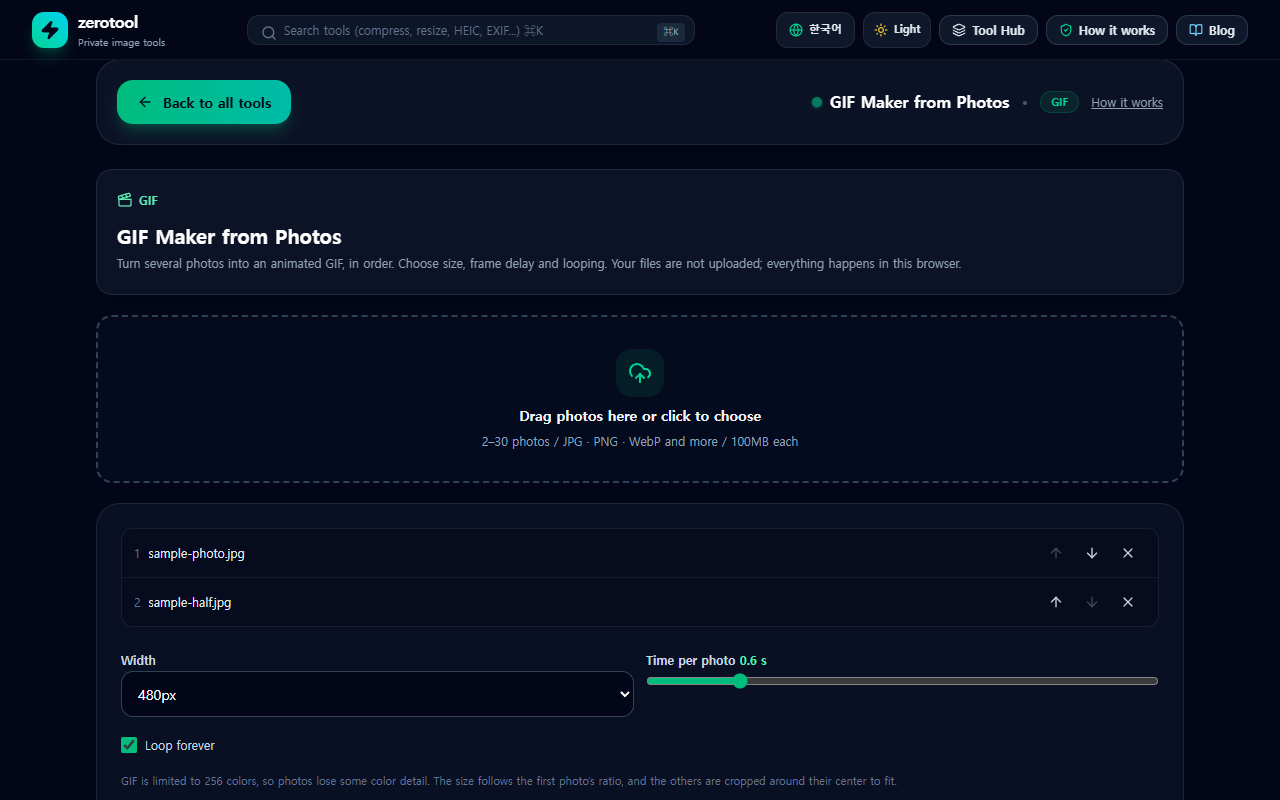
1. Add two or more photos to the GIF maker. You can use up to 30 photos at a time, 100MB each.
2. Set their order with the up and down buttons.
3. Pick a width from 240 to 800 pixels, and set how long each photo shows, from 0.1 to 3 seconds.
4. Choose to loop forever or to play once.
5. Press Create GIF. You see the animated result right away and can save it.
Size and proportions
The GIF takes the aspect ratio of the first photo, and the other photos are cropped around their center to fit. If your photos have different proportions, parts of some will be cut off, so choose the first photo in the proportions you want.
The 256-color limit and quality
GIF is a format that can use only 256 colors in one frame. A photo turned into a GIF therefore loses some color detail, and smooth skies or gradients can look banded. Simple images such as logos or drawings are affected much less. Transparent areas are filled with white.
Reducing the file size
More and larger photos make a bigger file. The most effective fix is to reduce the width. Using fewer photos, or showing each one for longer, also helps. Messengers and forums often have size limits, so check the size after saving.
The files are not uploaded; they are processed only inside this browser, and the GIF is built right here too.